Welcome to the Google Forms survey workshop. When you are done. you will know how to:
1. Sign on to your amityschools.org Google account
2. See your Google Drive
3. Find documents shared with you in Google Drive.
4. Make your own copy of and rename shared documents.
5. Edit questions/items in a Google form/survey
6. View the form/survey the public sees
7. Publish/Distribute the form/survey link to your target audience
8. View the form/survey responses
9. Organize the form/survey response data
10. Create graphic you can use of the form/survey response data
11. Extras: Export the form/survey response data to Excel for more sophisticated analysis
12. Extras: Create your own form/survey/test/quiz/log with Google forms
13. Extras: Following a link to get a Google document that is open for anyone to copy or edit.
Before starting:
Open Firefox. Follow these links to get to these instructions at:
Amity website→High School→AHS Library Information Center
Teachers Links→Technology Instruction for Teachers→Topic (Tab)→
“Using Surveys in Google Forms”
Look at the instructions.
Open Chrome. Go to any page.
You have two browsers open. Practice toggling between the two browsers by holding down ALT key, and pressing the TAB key. Every time you press the TAB key you toggle between the two browsers.
Make sure to leave the instruction page open, and toggle to it when you need it.
1. Signing on to your @amityschools.org Google account
1.a. Go to the regular Google gmail.com site (this is not the same as signing on to Google Chrome).
1. b. Sign in using the following user name and password:
yourschoolusernameamityteacher@amityschools.org
yourschoolpasswordamity (the one you had prior to the security change)
You will then be taken to the regular Google product page, where you can get to your Gmail, Google Youtube account, or Google Drive.
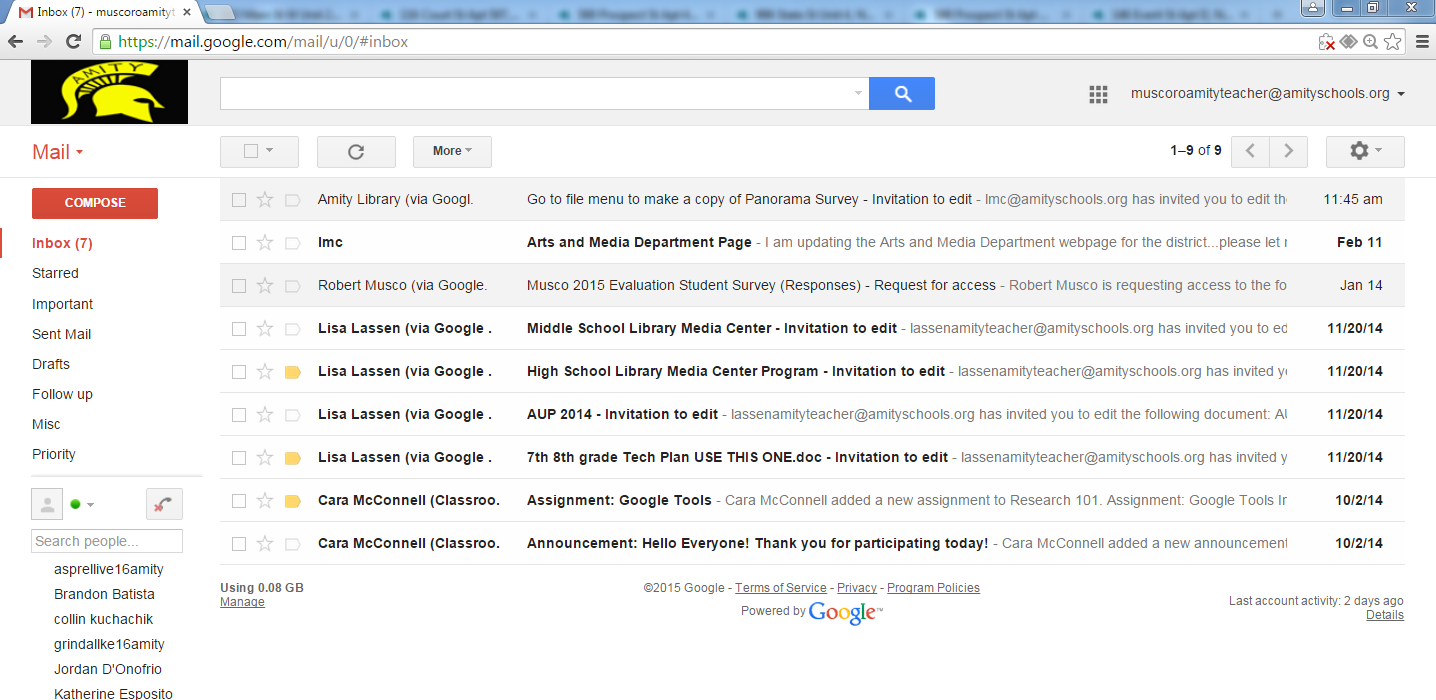
You may get see email invitations to see documents that other people shared with you, if the sharer chose the email option. Ignore email for now.
2. Seeing your Google Drive
Google Drive is where you can create and share documents and presentations.
Go to Google drive (all Google products can be accessed by clicking the little “9-dot” icon in the upper right)
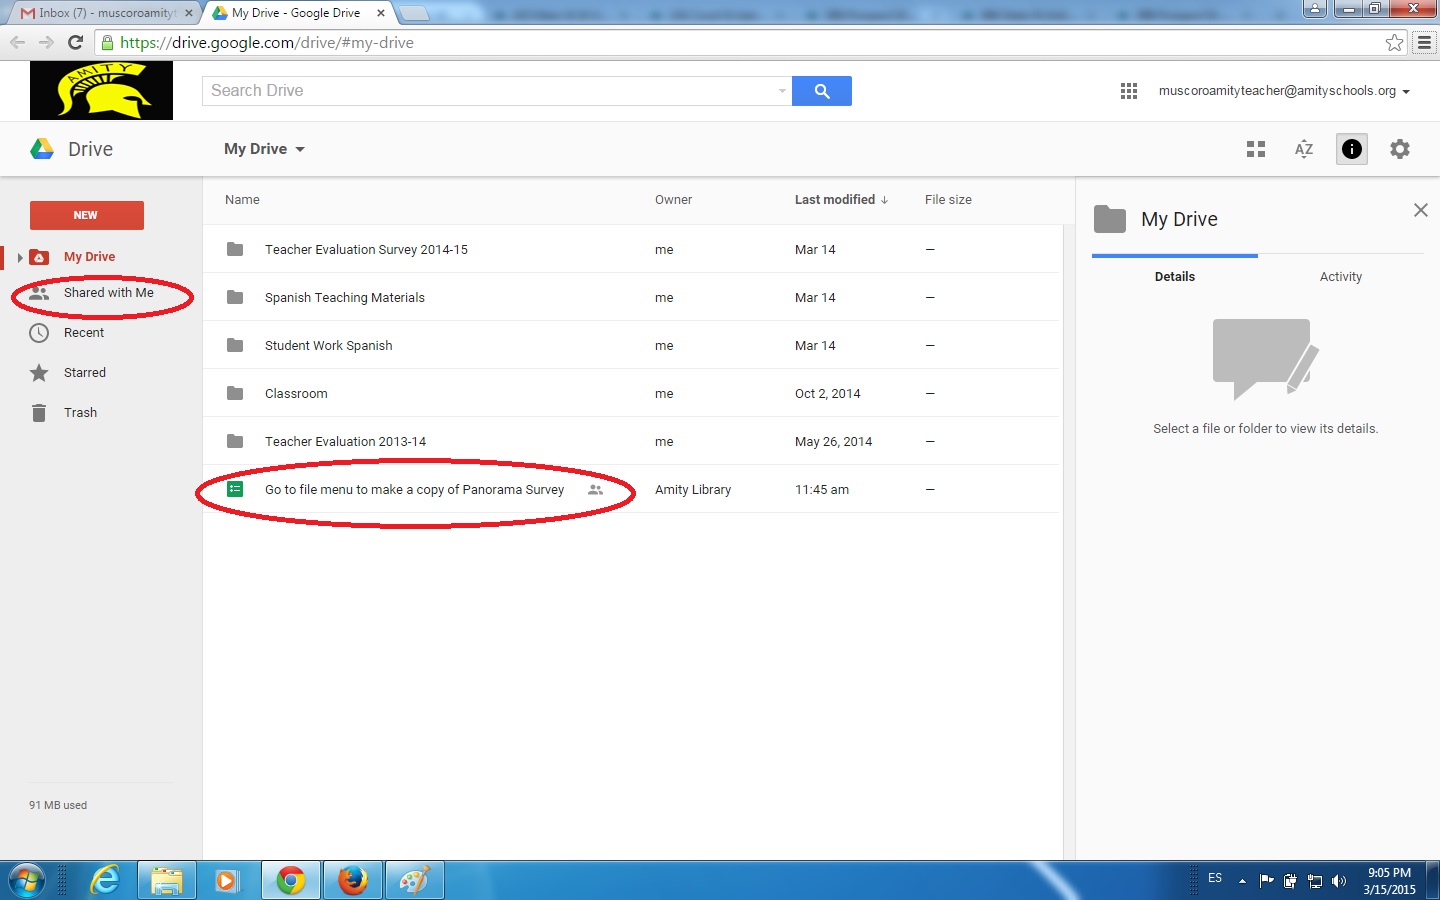
3. Finding documents shared with you in Google Drive.
3.a. Go to “Shared with me” in the left-hand side-bar to see all documents that have been shared.
3.b. Find the document with the funny name that I shared, called: “You must make a copy of this Panorama Survey”. Don’t open this document.
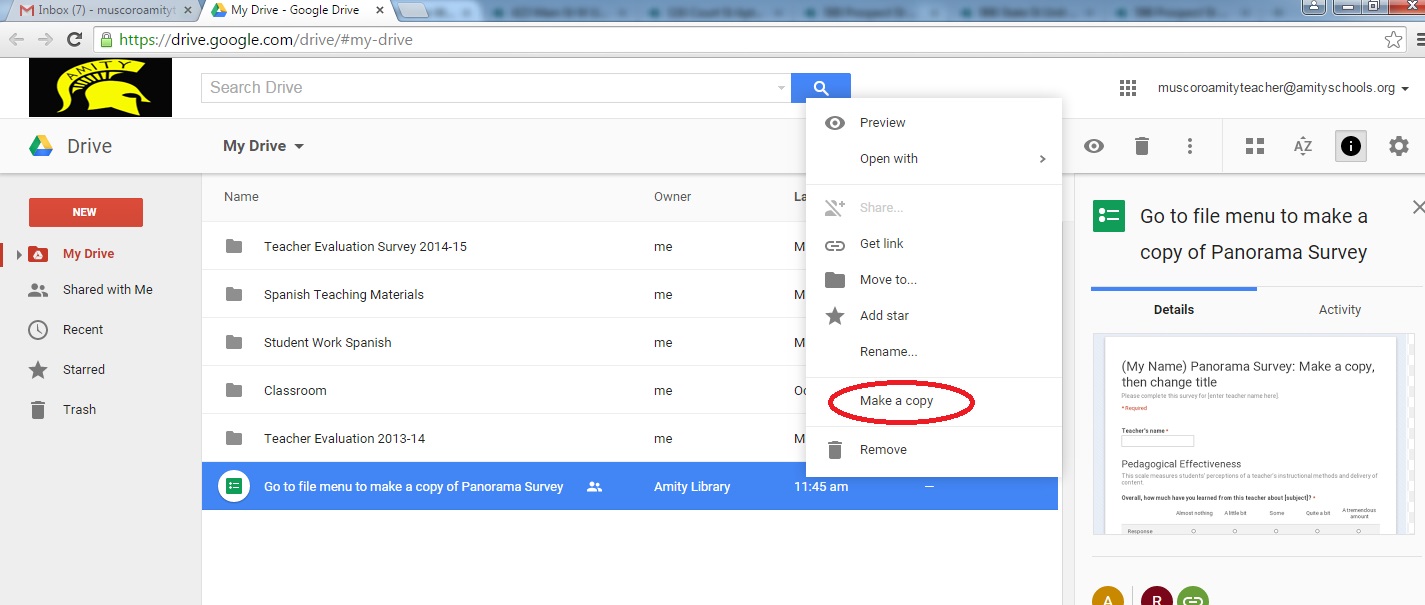
4. Making your own copy of and renaming shared documents.
4.a. Right-click the document, choose ¨Make a copy”.
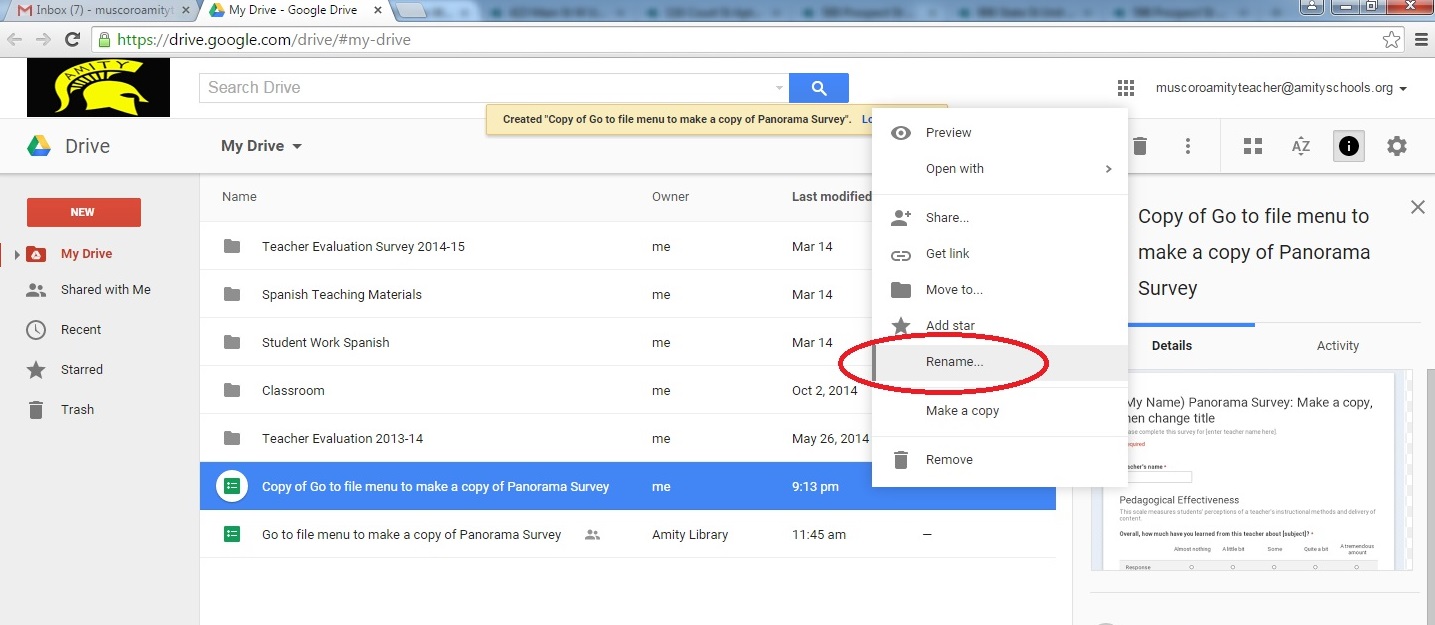
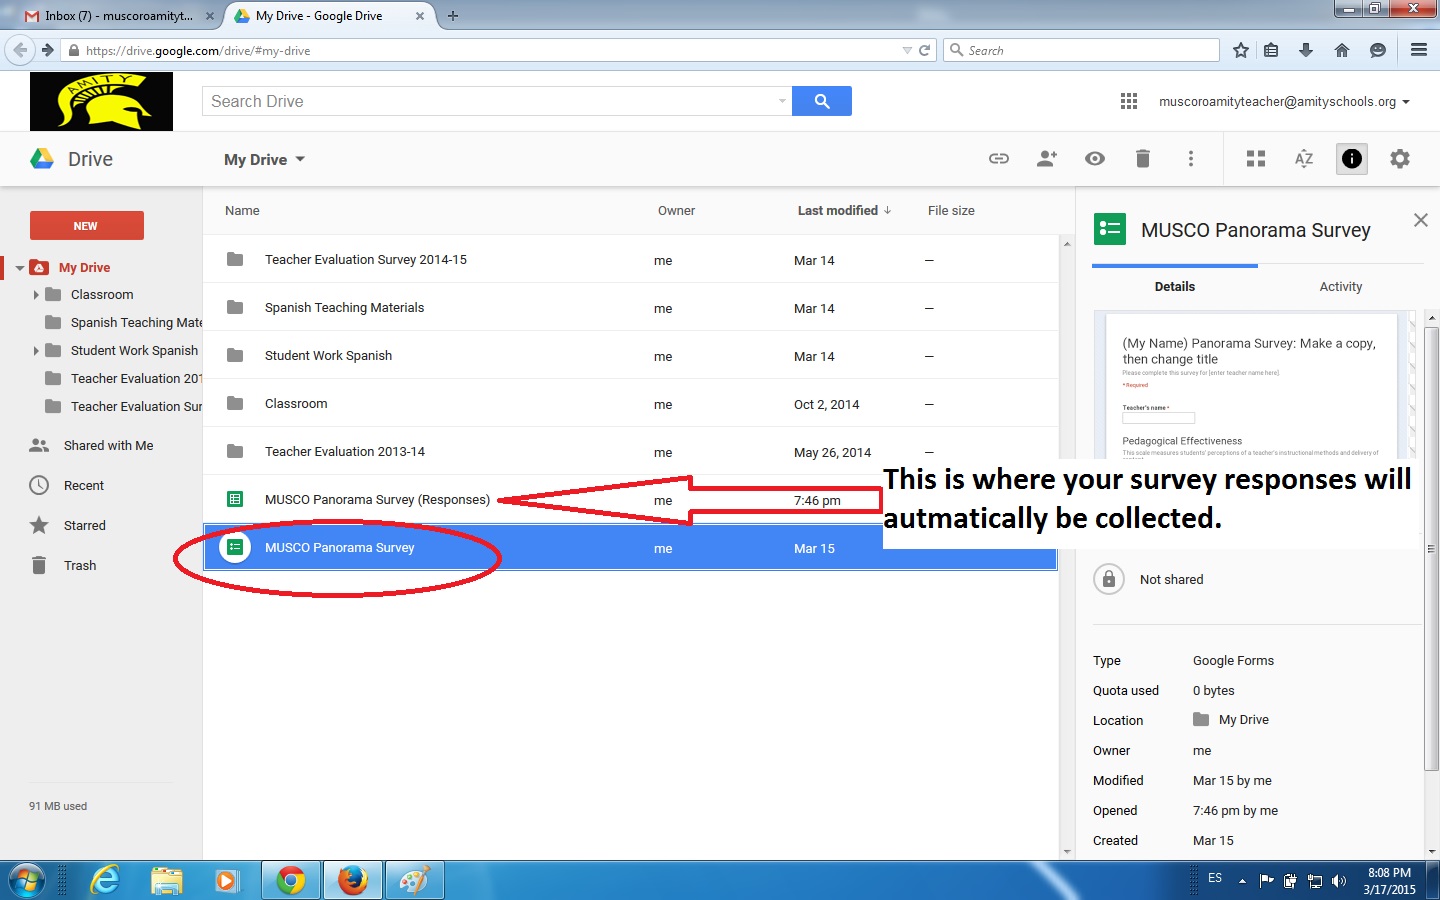
4.b. Find the new copy that appears in your list.
Right-click the copy, choose “Rename”. Change the name of the survey to “Your Name Panorama Survey”.
Notice how the name changes. Also notice that there is a ssecond document of the same name ending in (RESPONSES). This is a spreadsheet that will automatically collect your survey responses.
5. Editing questions/items in a Google form/survey
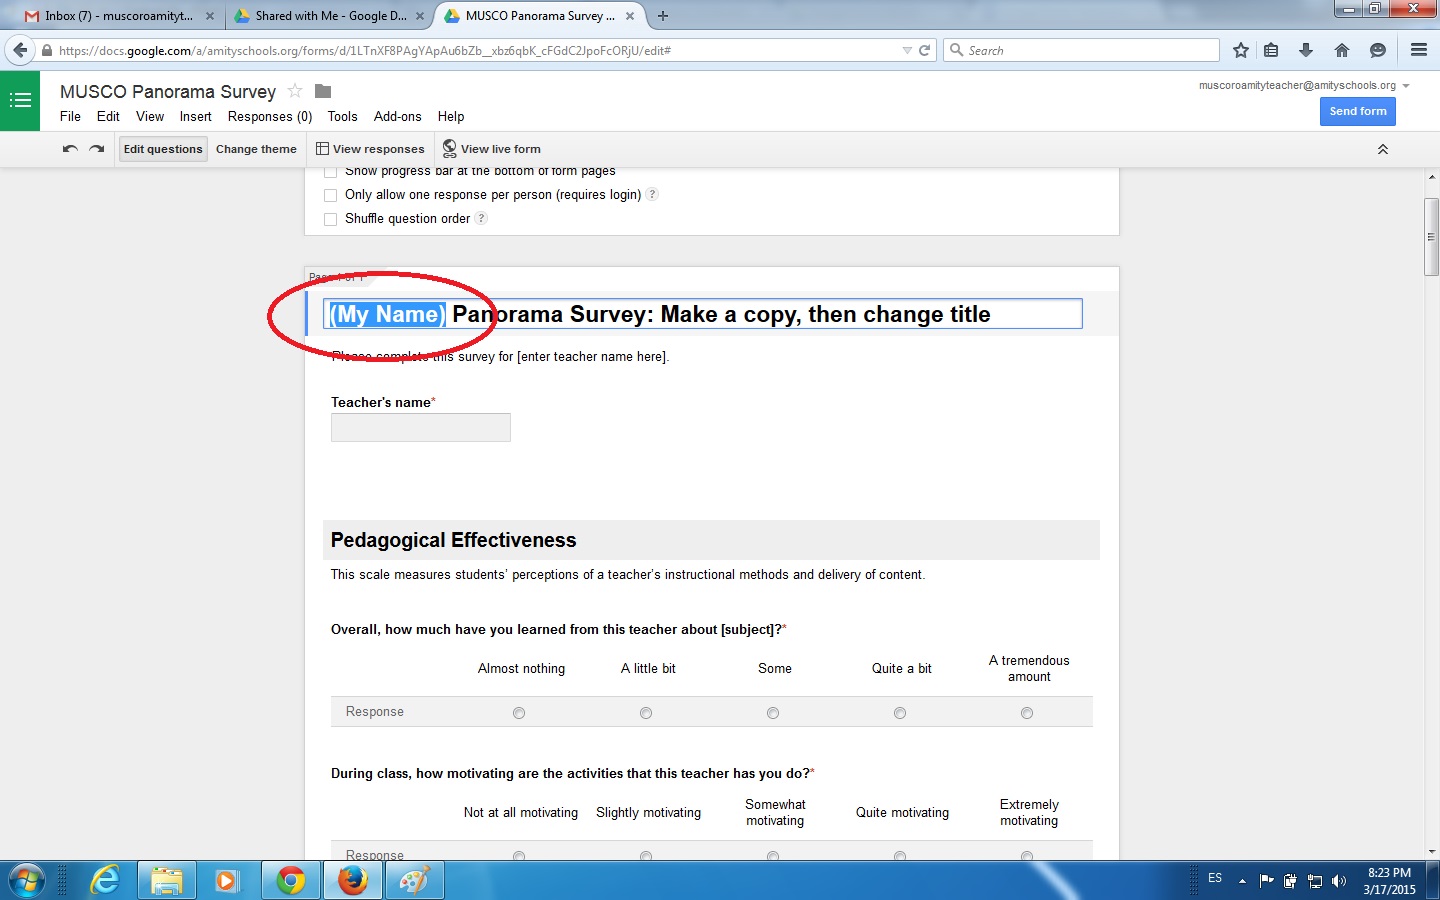
5.a. Double click on your newly renamed Panorama survey (NOT the responses) to open it.
5.b. Look at your open survey. Change the title to your own name.
5.c. Now look at the survey. Decide which 2 sections of the survey you want to use, because you have to get rid of the other sections.
5.d. Delete the headings and questions in the sections you are not going to use. To do this, hover over each question or heading until it is highlighted, and click on the delete trash can. Do this for every heading and question you are deleting.
Note: I suggest doing this from the BOTTOM UP. If you start from the top or middle of the form, you may get mixed up.
6. Viewing the form/survey the public sees.
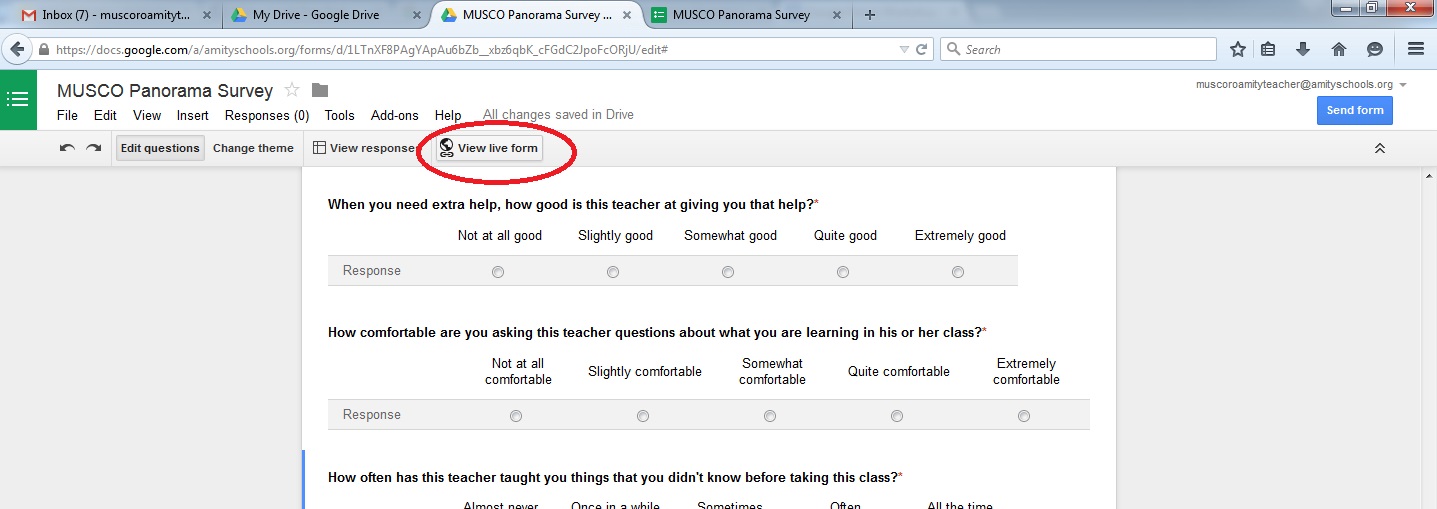
6.a. In the top menu, click on View Live Form.
6.b. This is what your form looks like. Check for errors.
6.c. You need some data to work with, so you are going to respond to your own survey, by filling in the answers, and clicking SUBMIT at the end.
To submit more than one set of responses, you have to go back to your survey editing page, and click View Live Form again.
7. Publishing/Distributing the form/survey link to your target audience
7.a. Click on Send Form in the upper right.
7.b. Click Short URL to get a shorter link address.
7.c. Copy the Link to Share. This is the link that you would email, or add to a web page.
(Do not choose any option with “Collaborators”. A Collaborator is a co-editor of your form, not a respondent.)
7.d. You are not going to send your link to anyone now during this practice session.
8. Viewing the form/survey responses
Once someone has complete and submitted your survey, you can view your results. Click on View Responses.
9. Organizing the form/survey response data
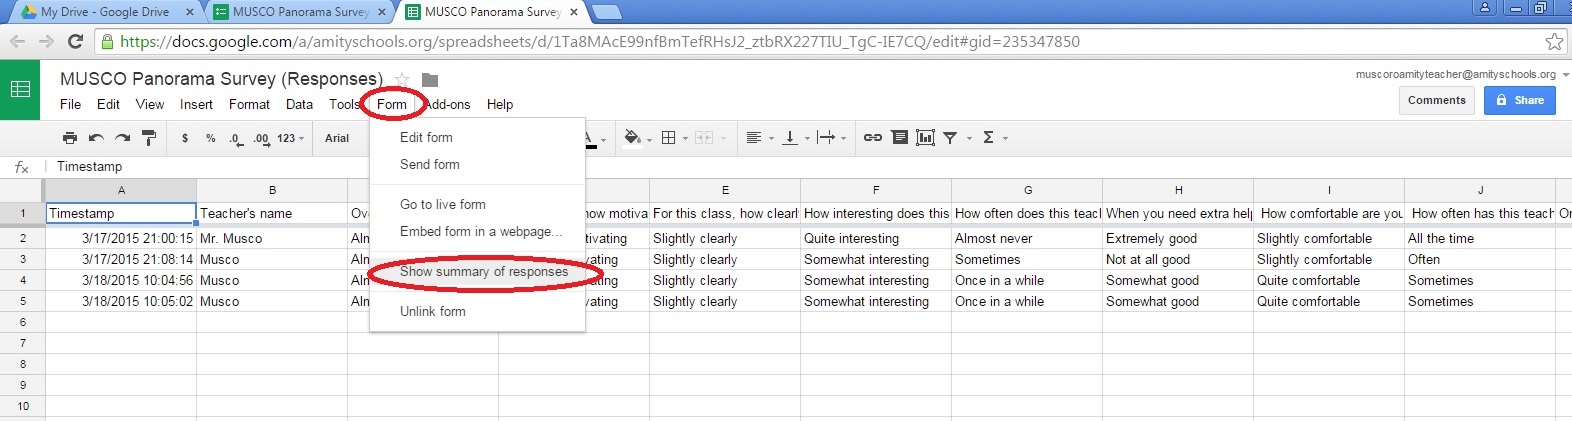
Look at the spreadsheet that has opened up. This is the same document that appeared in the list when we created the new copy of the survey, but now it has the answers you submitted in step 6.c. to practice with.
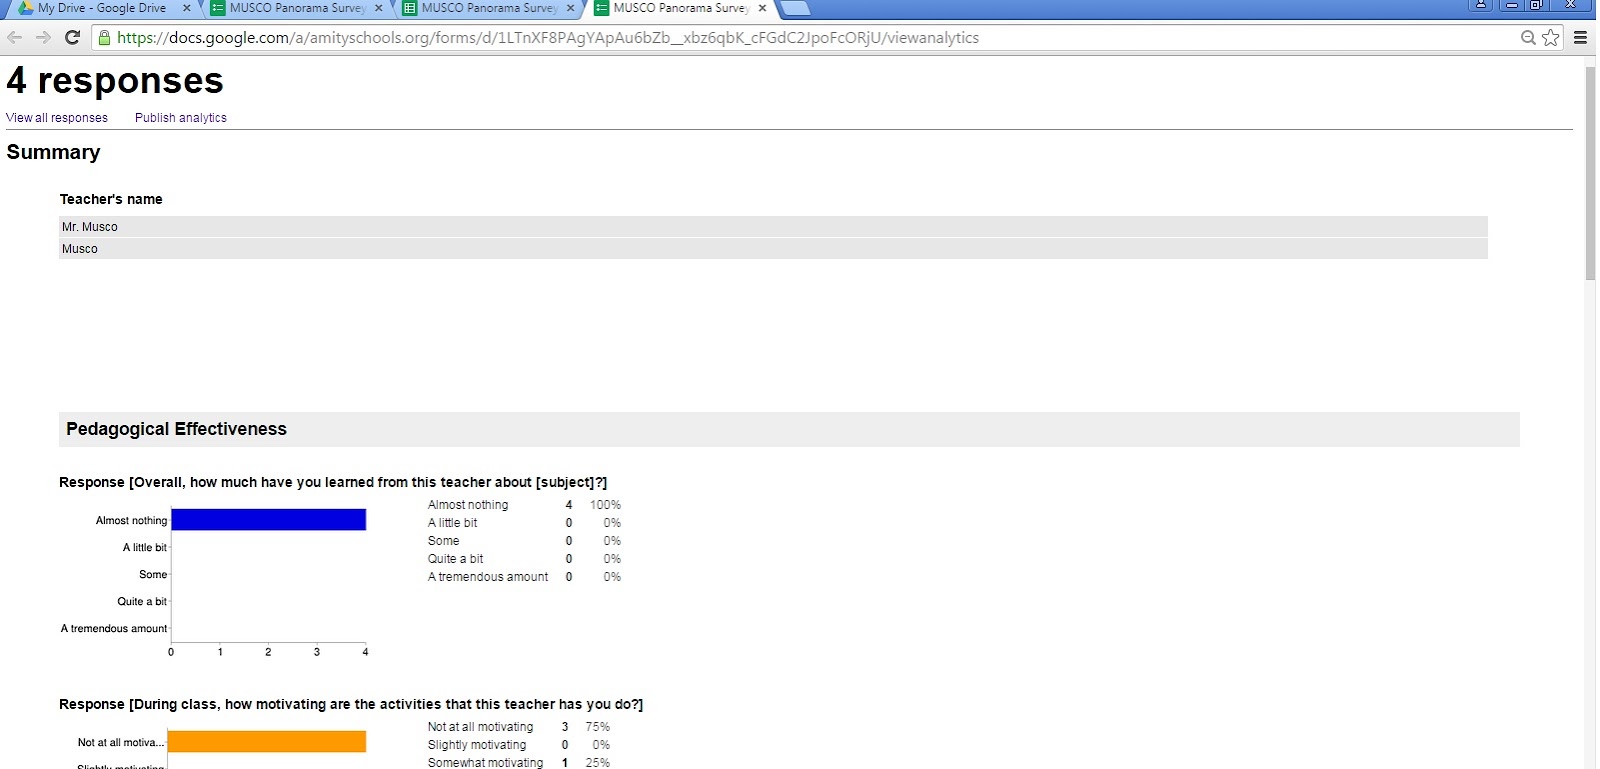
10. Creating a graphic you can use of the form/survey response data
10.a. From within the spreadsheet, go to the main menu Form and click on Show summary of responses
10.b. Now you have the response percentages broken down by question
11. Extras: Exporting the form/survey response data to Excel for more sophisticated analysis
Coming soon...
12. Extras: Creating your own form/survey/test/quiz/log with Google forms
Coming soon...
13. Extras: Following a link to get a Google document that is open for anyone to copy or edit.
Sometimes we may make a form available to the public to copy, but not explicitly share it with every individual.
13.a. Go to this link to find the form, while you are logged into your amityschools@org account. The edit privileges have been set so that anyone can change it.
13.b. Go to the FILE menu to create your own copy, and rename your copy.
13.c. Click in the upper left to go to Google Drive, and view your documents.
13.d. Continue the instructions from number 3.b.